SmartVent – Mid-Roof Application
Patent numbers 6,212,833 ,9,022,845 & 6,447,392 issued by the United States Patent & Trademark Office.

SmartVent by DCI
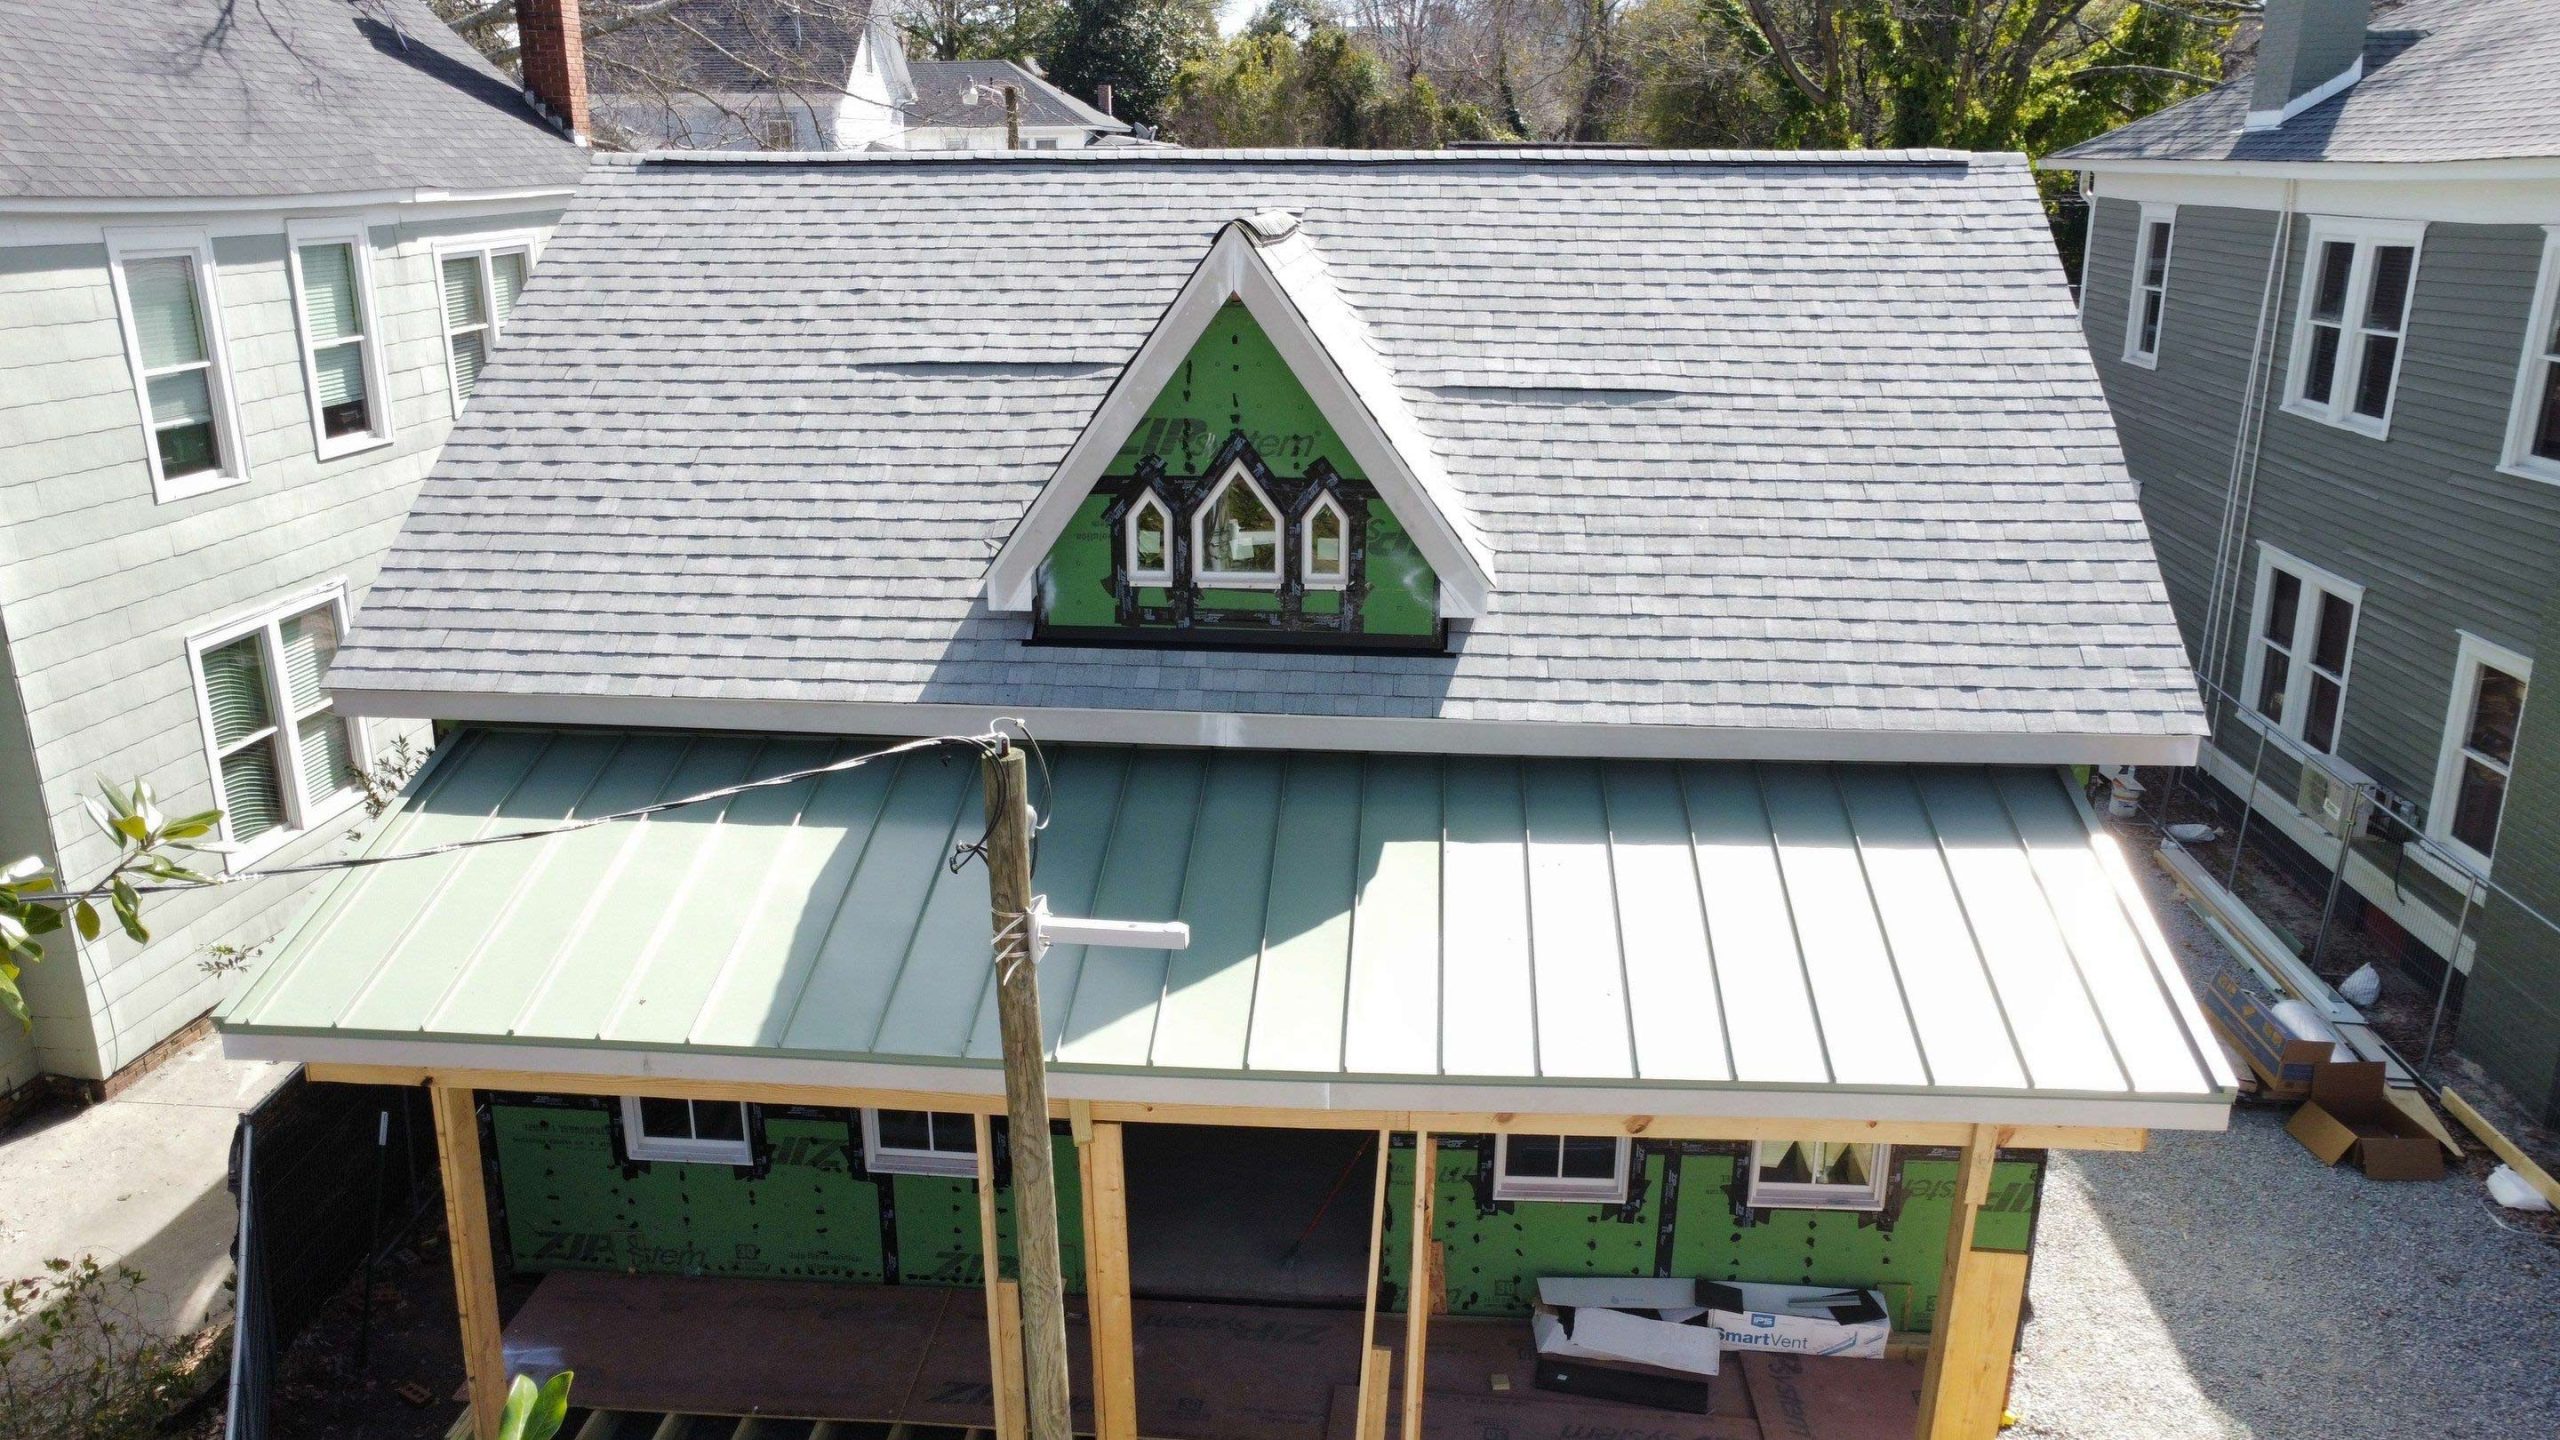
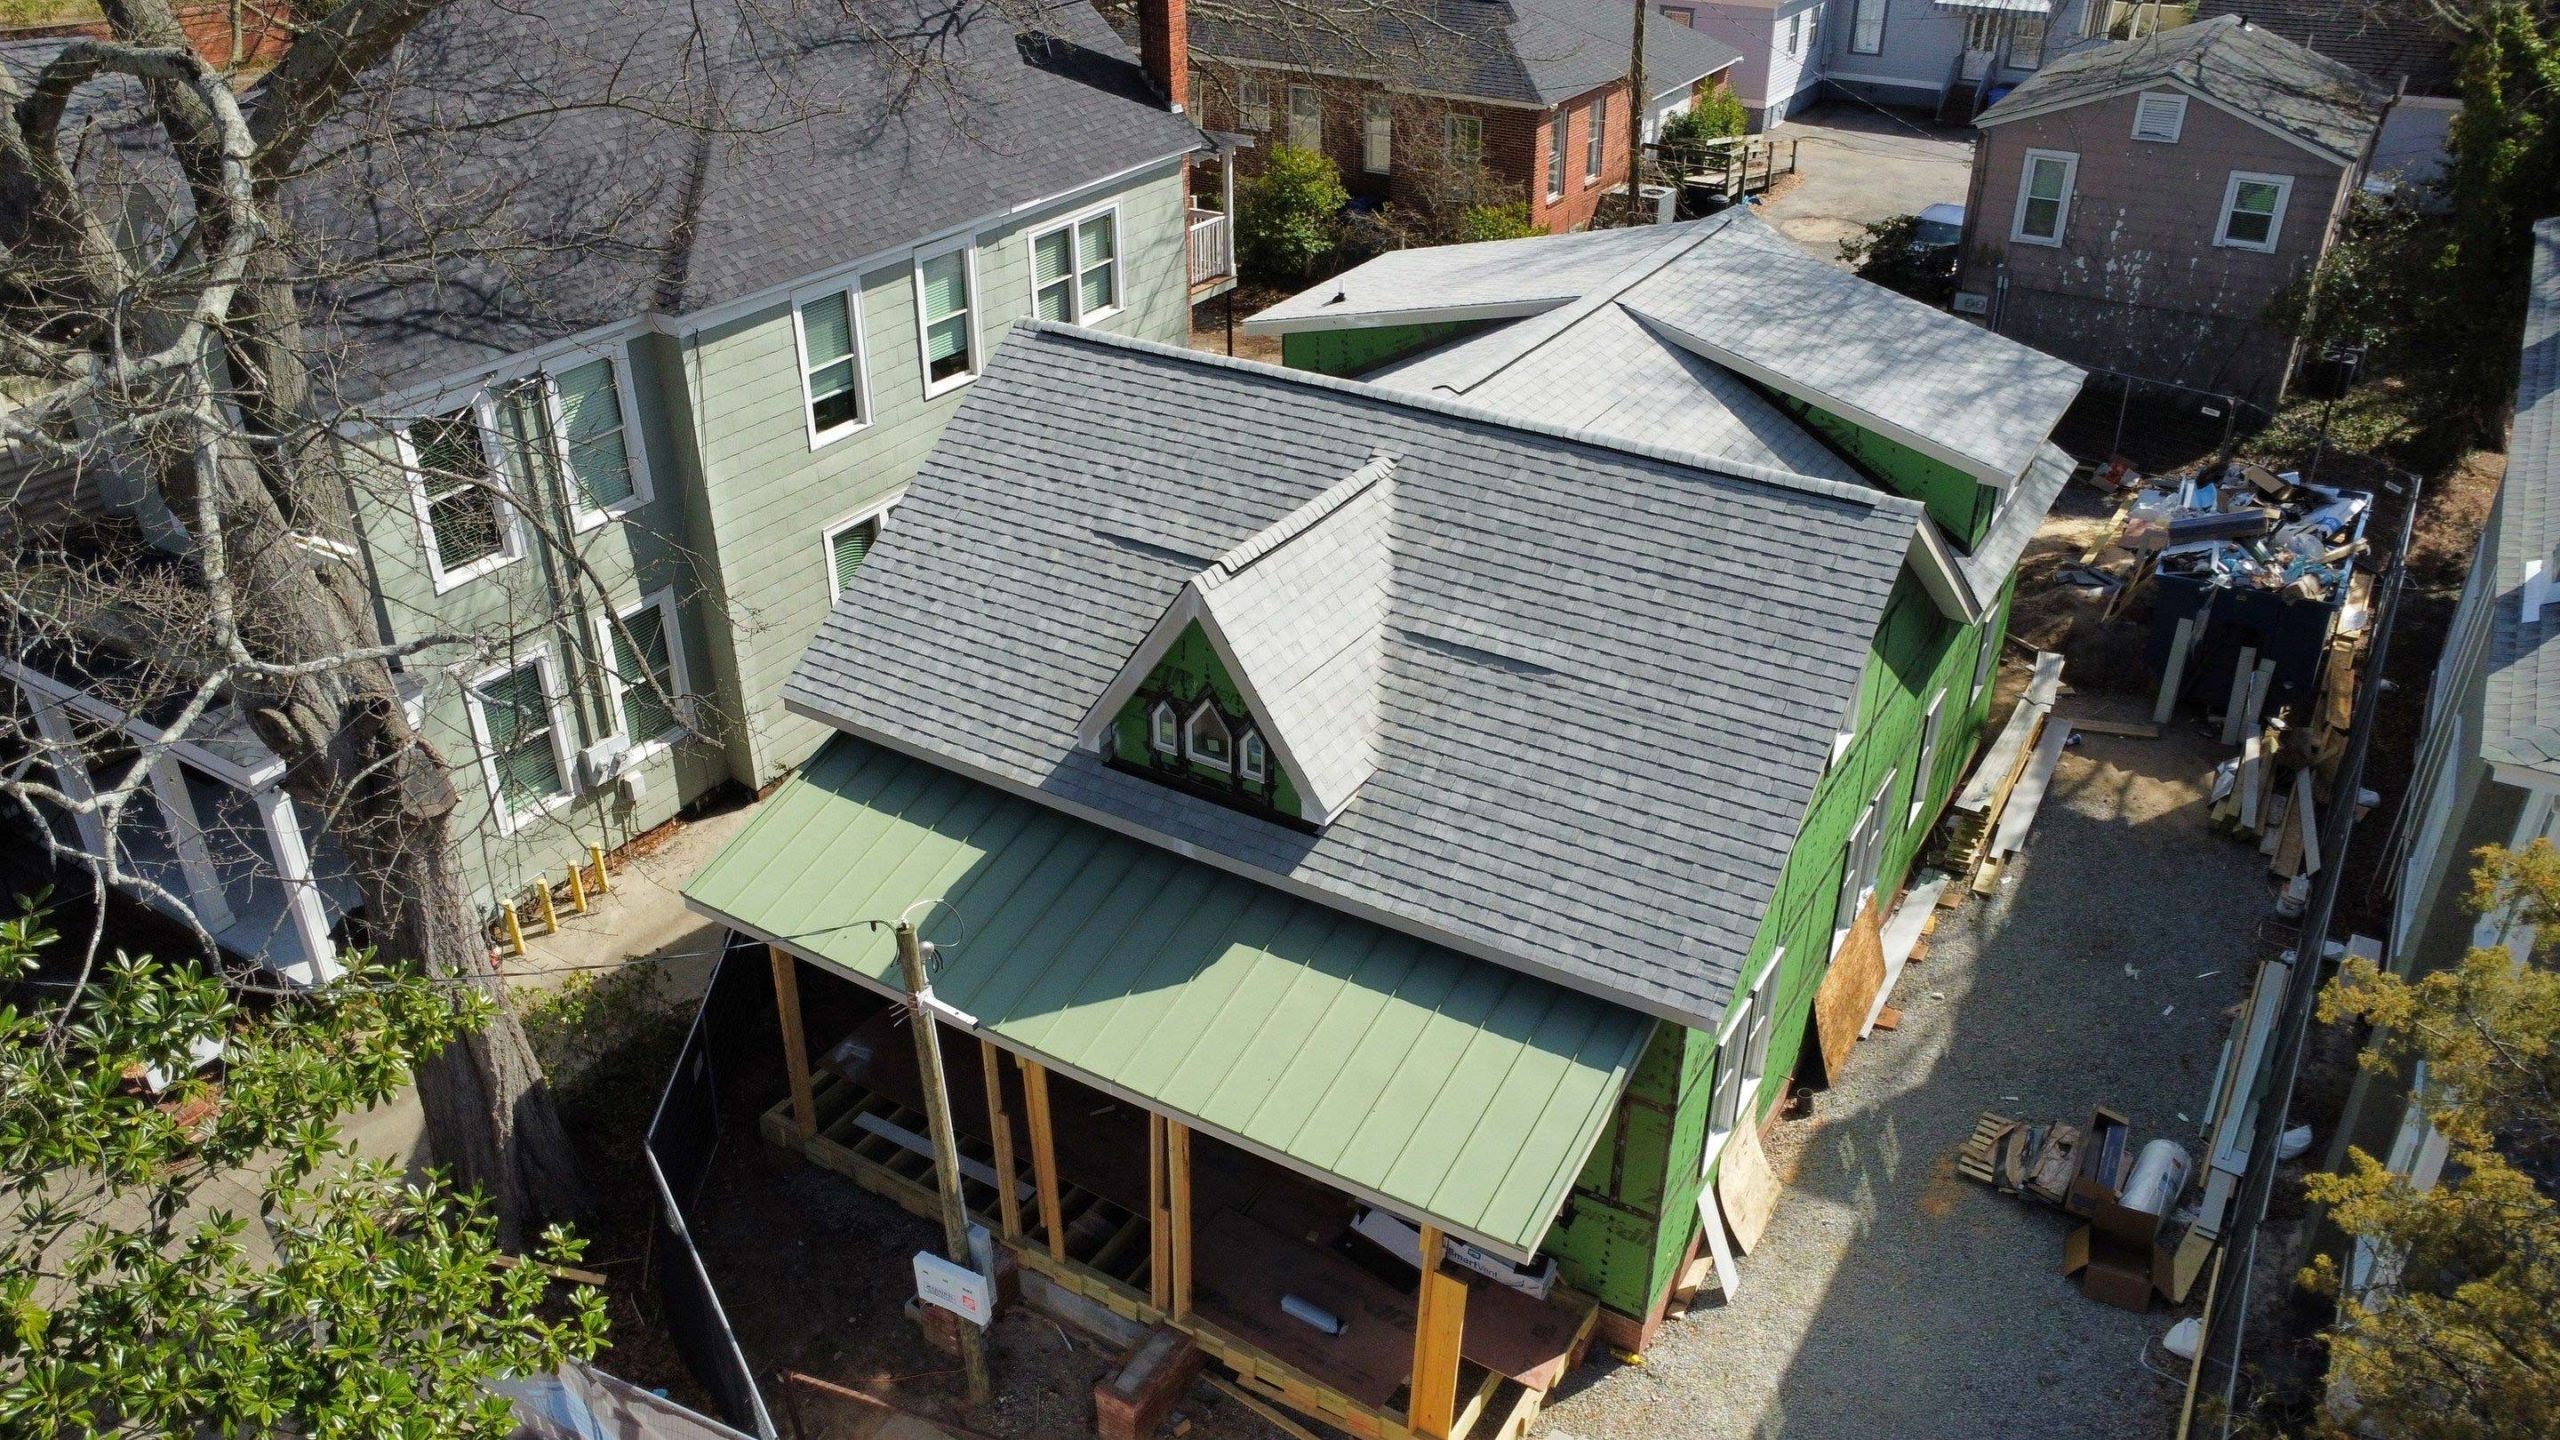
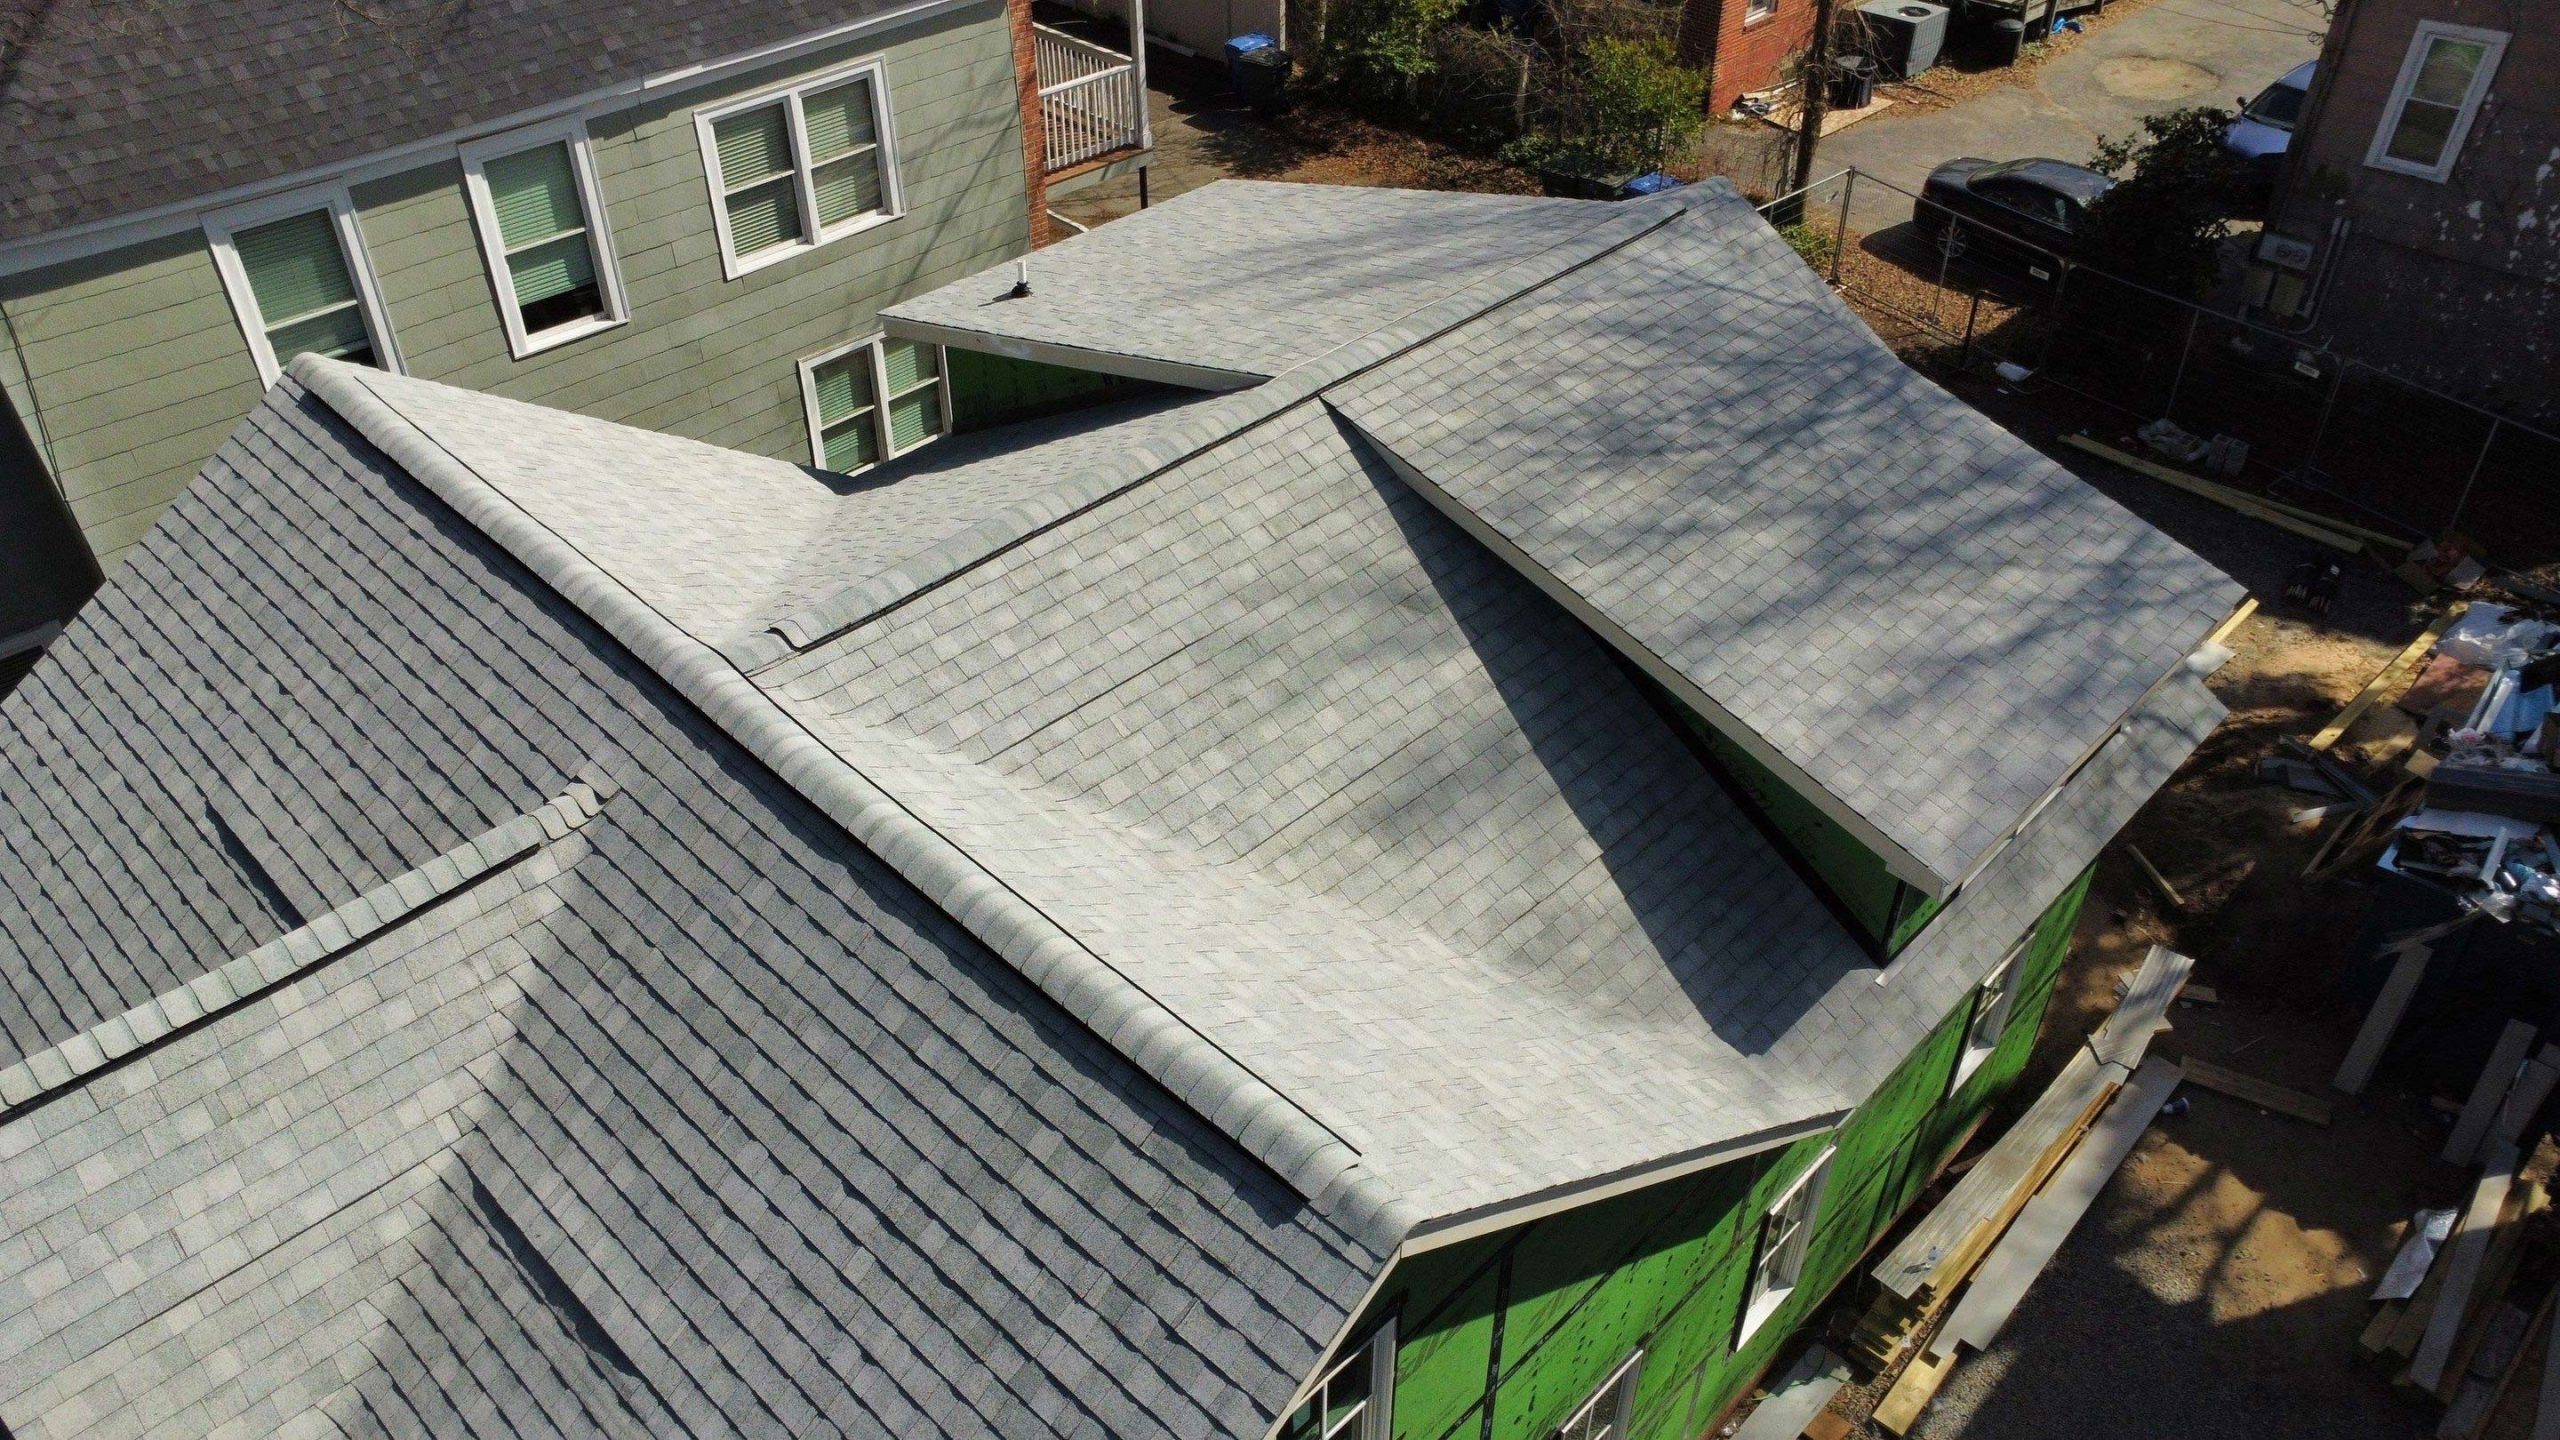
Mid Roof Application:
When a home has blocked soffits, exposed rafter tails or knee walls, SmartVent should be installed following our midroof instructions. All attics need intake ventilation with all ridge vents in order to work efficiently. Using the enlargeable images as a guide, you may follow the instructions below to guide you through the installation process. If you are new to SmartVent, we suggest you view the Eave/Soffit instructions first to learn the basic techniques of of installing our product.

Mid Roof Installation Instructions
STEP 1
Shingle up to the area that requires the SmartVent. (Figure 1) Do not install any underlayment or shingles above the location of the SmartVent prior to the completion of the SmartVent installation.
STEP 2
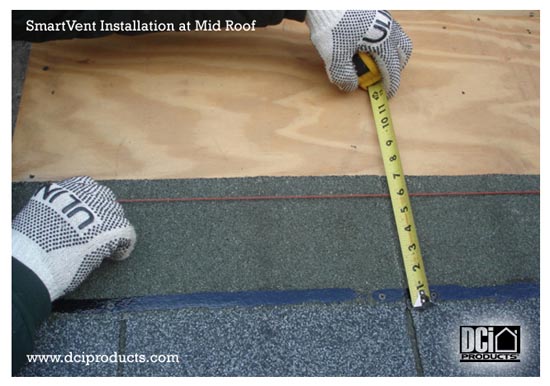
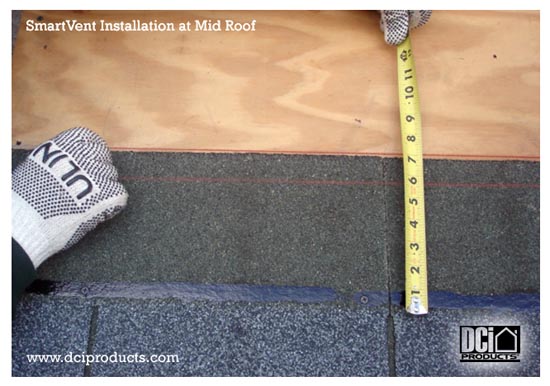
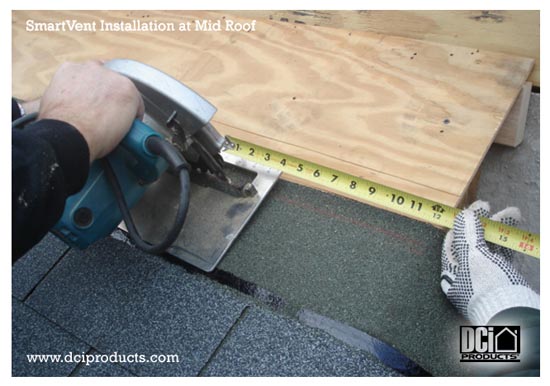
At the location of the shingle course (where the SmartVent is to be located) measure up from the bottom of the shingle (the weather edge) 6” to 7” or 6½” to 7½” before installing the actual shingle.

STEP 3
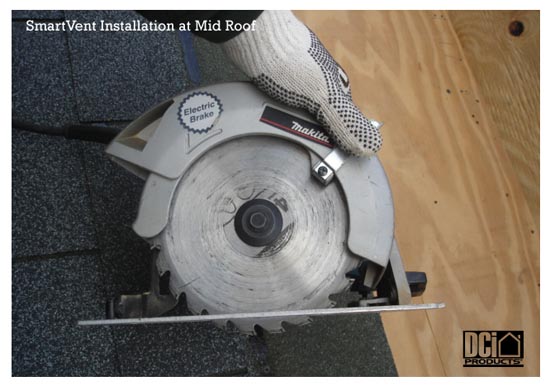
Make lines at the 6” to 7” or 6½” to 7½” marks and cut through the top of the previously installed shingle and the plywood only. Do not cut the rafters! Stay 12” in from ends of walls or obstructions.
Make sure that your blade depth is set to the thickness of the decking. Do not cut through the rafters
STEP 4
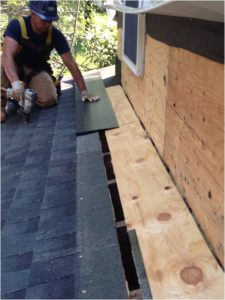
Remove the plywood decking after the continuous cut and ensure the air flow is open from soffit to ridge or exhaust vent.
STEP 5
Using the fabric at the rake edge or a SmartVent End Cap, nail the SmartVent similar to the eave detail CROSS SECTION but make it even with the bottom edge of the course of shingle next to be installed. Use a minimum of four nails across the lift edge starting 2” in from the edges. Use nail line in fabric. Align matching nails at the top of vent.
STEP 6
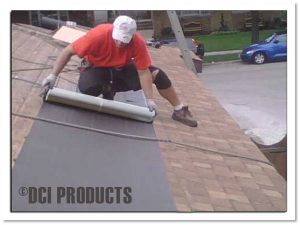
Apply a roll of ice shield on top of the SmartVent even at the lower lift edge and directly to the plywood above the vent. If tarpaper was already installed, gently tuck the ice shield under the higher course of tarpaper so it laps over the ice shield by at least three inches or more. Ensure ice shield adheres to SmartVent and wood decking, not installed over tarpaper..
STEP 7
Install a starter course of shingle slightly overhanging the SmartVent bottom edge about ½”. Align shingles per manufacturers’ directions starting at ½” overhang..
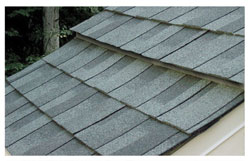
Install the shingles over the starter course and continue shingling up the roof. The installation at the mid-roof is very similar to that of the eaves edge. If you have any questions or comments on installation please call 1-800-622-4455 and ask for a roof ventilation technician to assist you.
Notes: Stop any roof deck 1” cuts about 12” from rake edges, dormer walls or valley areas, or at ends of the SmartVent runs, etc. Use the enclosed fabric at the open ends of SmartVent to seal for weather and insects. Cut SmartVent even at the rake edges, miter SmartVent in the valley and hip areas and return miter SmartVent to end at locations inside the roof edging. The ‘return miter’ is available to see on our website or call to receive this installation detail. (Pre-made factory SmartVent End Caps are available directly from our factory for ease of installation-please call 1-800-622-4455).

Need to translate?